Event Notifications from JamfUploader - Slack, Teams, and now Jira
Introduction
Almost eight years ago, I published a blog post about a new Post-Processor for AutoPkg that I had created to send a webhook to Slack when something was updated by JSSimporter, called Slacker. Fellow British Mac Admin Ben Reilly subsequently developed a version for Munki, also called Slacker.
Three years later, in 2020, I introduced JamfUploader, and 2022 made the tough decision to deprecate JSSImporter. One thing I forgot to do was ever write about the replacement to Slacker, which I called JamfUploaderSlacker.
Since then, in 2022 I added a notifier for Microsoft Teams with the help of Jacob Burley, and this week I have added an issue creator for Atlassian Jira. The new addition seemed like a good excuse to properly talk about these useful notifier post-processors.
Objective
The objective of all these post-processors is to notify AutoPkg administrators when something in Jamf Pro is updated by an AutoPkg recipe. This allows the administrators to keep an eye on their deployments and, depending on their workflow, let them know what they should be checking that day, perhaps with a view to releasing the updated product to production.
The processors report whenever a package is uploaded, and/or a policy or patch policy is created or changed.
Whichever processor you use, you call it in a similar way, using the --post option of the autopkg command. You could add the processor to each recipe, but that’s unnecessary thanks to the --post option. For example, if you want to post to Slack, you would run a command like the following:
autopkg run -v Firefox.jamf --post com.github.grahampugh.jamf-upload.processors/JamfUploaderSlacker
Additionally, you need to supply information for the processor to be able to post to the correct location. There’s documentation for each processor in the JamfUploader GitHub repo, but let’s look at each processor to explain what’s needed.
JamfUploaderSlacker
JamfUploaderSlacker sends a webhook. This is a URL that you set up in your Slack workspace. To set up an incoming webhook, follow the instructions for setting up a new Slack app here. You’ll end up with a URL that looks something like https://hooks.slack.com/services/XXXXXXXXX/YYYYYYYYY/ZZZZZZZZZZ. This is all you need to post to the correct workspace and channel, but the post-processor allows you to supply an alternative channel, and specify a display name and icon for the post. The full set of customisable keys are:
slack_webhook_url: Slack webhook URL to send the message to.slack_username: Sets the display name shown in the message in Slack. Defaults toAutoPkg.slack_icon_url: Sets the icon shown in the Slack notification. Must be a publicly accessible image.slack_icon_emoji: Sets an emoji to be the icon.slack_channel: Slack channel (for overriding the default).
To supply these keys, the usual methods for AutoPkg are possible: add to the preferences file, or add to the autopkg run command.
JamfUploaderSlacker - Supplying keys at the command line
autopkg run --recipe-list="/path/to/my/RecipeList.txt" \
    --post com.github.grahampugh.jamf-upload.processors/JamfUploaderSlacker \
    --key slack_webhook_url=https://hooks.slack.com/services/XXXXXXXXX/YYYYYYYYY/ZZZZZZZZZZ \
    --key slack_username="App Notifications" \
    --key slack_icon_url=https://some.url/image.png
JamfUploaderSlacker - Adding keys to the AutoPkg preferences
defaults write com.github.autopkg slack_webhook_url https://hooks.slack.com/services/XXXXXXXXX/YYYYYYYYY/ZZZZZZZZZZ
defaults write com.github.autopkg slack_username "App Notifications"
defaults write com.github.autopkg slack_icon_url https://some.url/image.png
JamfUploaderTeamsNotifier
JamfUploaderTeamsNotifier also sends a webhook. These are created using Workflows for Microsoft Teams. See the documentation for more details on how to set one up. Once you’ve got the webhook URL, the processor works very similar to the Slack post-processor. It’s not possible to override the destination that is set when creating the webhook.
The available customisable keys are:
teams_webhook_url: Microsoft Teams webhook URL to send the message to.teams_username: Sets the display name shown in the AdaptiveCard in Teams. Defaults toAutoPkg.teams_icon_url: Sets the icon shown in the AdaptiveCard in Teams. Defaults to a Jamf Pro product icon. Recommended that you use a square image that is publicly reachable.
JamfUploaderTeamsNotifier - Supplying keys at the command line
autopkg run --recipe-list="/path/to/my/RecipeList.txt" \
    --post com.github.grahampugh.jamf-upload.processors/JamfUploaderTeamsNotifier \
    --key teams_webhook_url=https://outlook.office.com/webhook/XXXXXXXXX-YYYYYYYYY-ZZZZZZZZZZ \
    --key teams_username="App Notifications" \
    --key teams_icon_url=https://some.url/image.png
JamfUploaderTeamsNotifier - Adding keys to the AutoPkg preferences
defaults write com.github.autopkg teams_webhook_url https://outlook.office.com/webhook/XXXXXXXXX-YYYYYYYYY-ZZZZZZZZZZ
defaults write com.github.autopkg teams_username "App Notifications"
defaults write com.github.autopkg teams_icon_url https://some.url/image.png
JamfUploaderJiraIssueCreator
JamfUploaderJiraIssueCreator is the new kid in the neighbourhood. This time, it doesn’t send a webhook, but instead uses the Jira API to post an Issue to Jira. To use this, you need to create an API Token - and your organisation needs to give you permission to do this. You may wish to use a service account rather than a personal account.
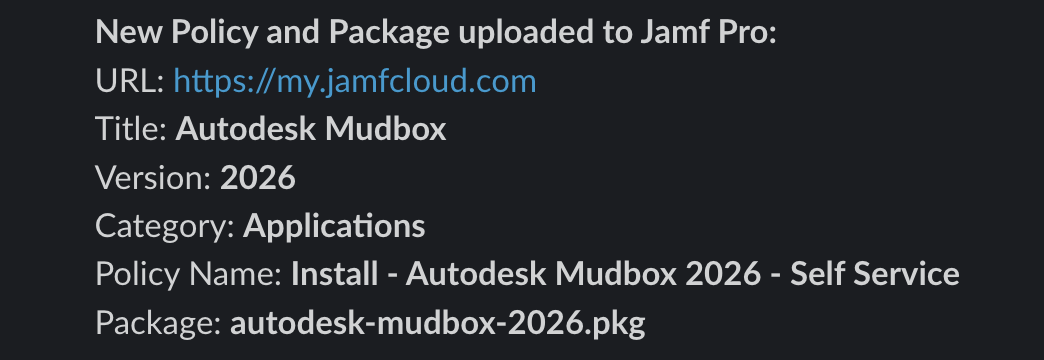
Since Issues appear with just their titles in default views (e.g. List, Kanban), I tweaked the processor in comparison to the Slack and Teams notifiers, so that the title is the name of the package that was uploaded, or if no package was uploaded, the name of the policy or patch policy.
Creating an API Token
- Login via id.atlassian.com
- Click on your profile icon in the top-right of the website, and select “Account Settings”.
- Click the “Security” tab.
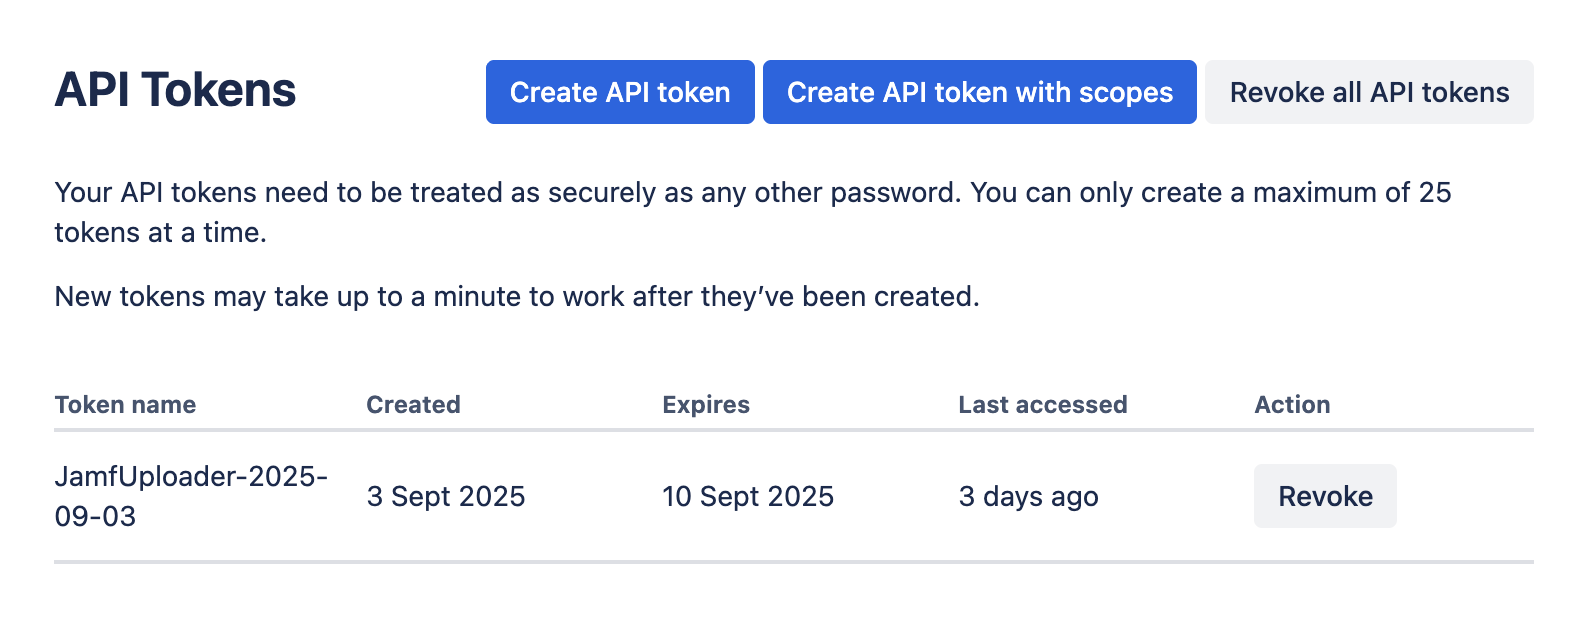
- Click on “Create and manage API tokens”.
- You can choose to create a simple API Token, or create one with a limited scope. The token will only have the permissions of the user that created it, so it may not be necessary to limit the scope further. I didn’t look into what permissions are needed to post a new issue.
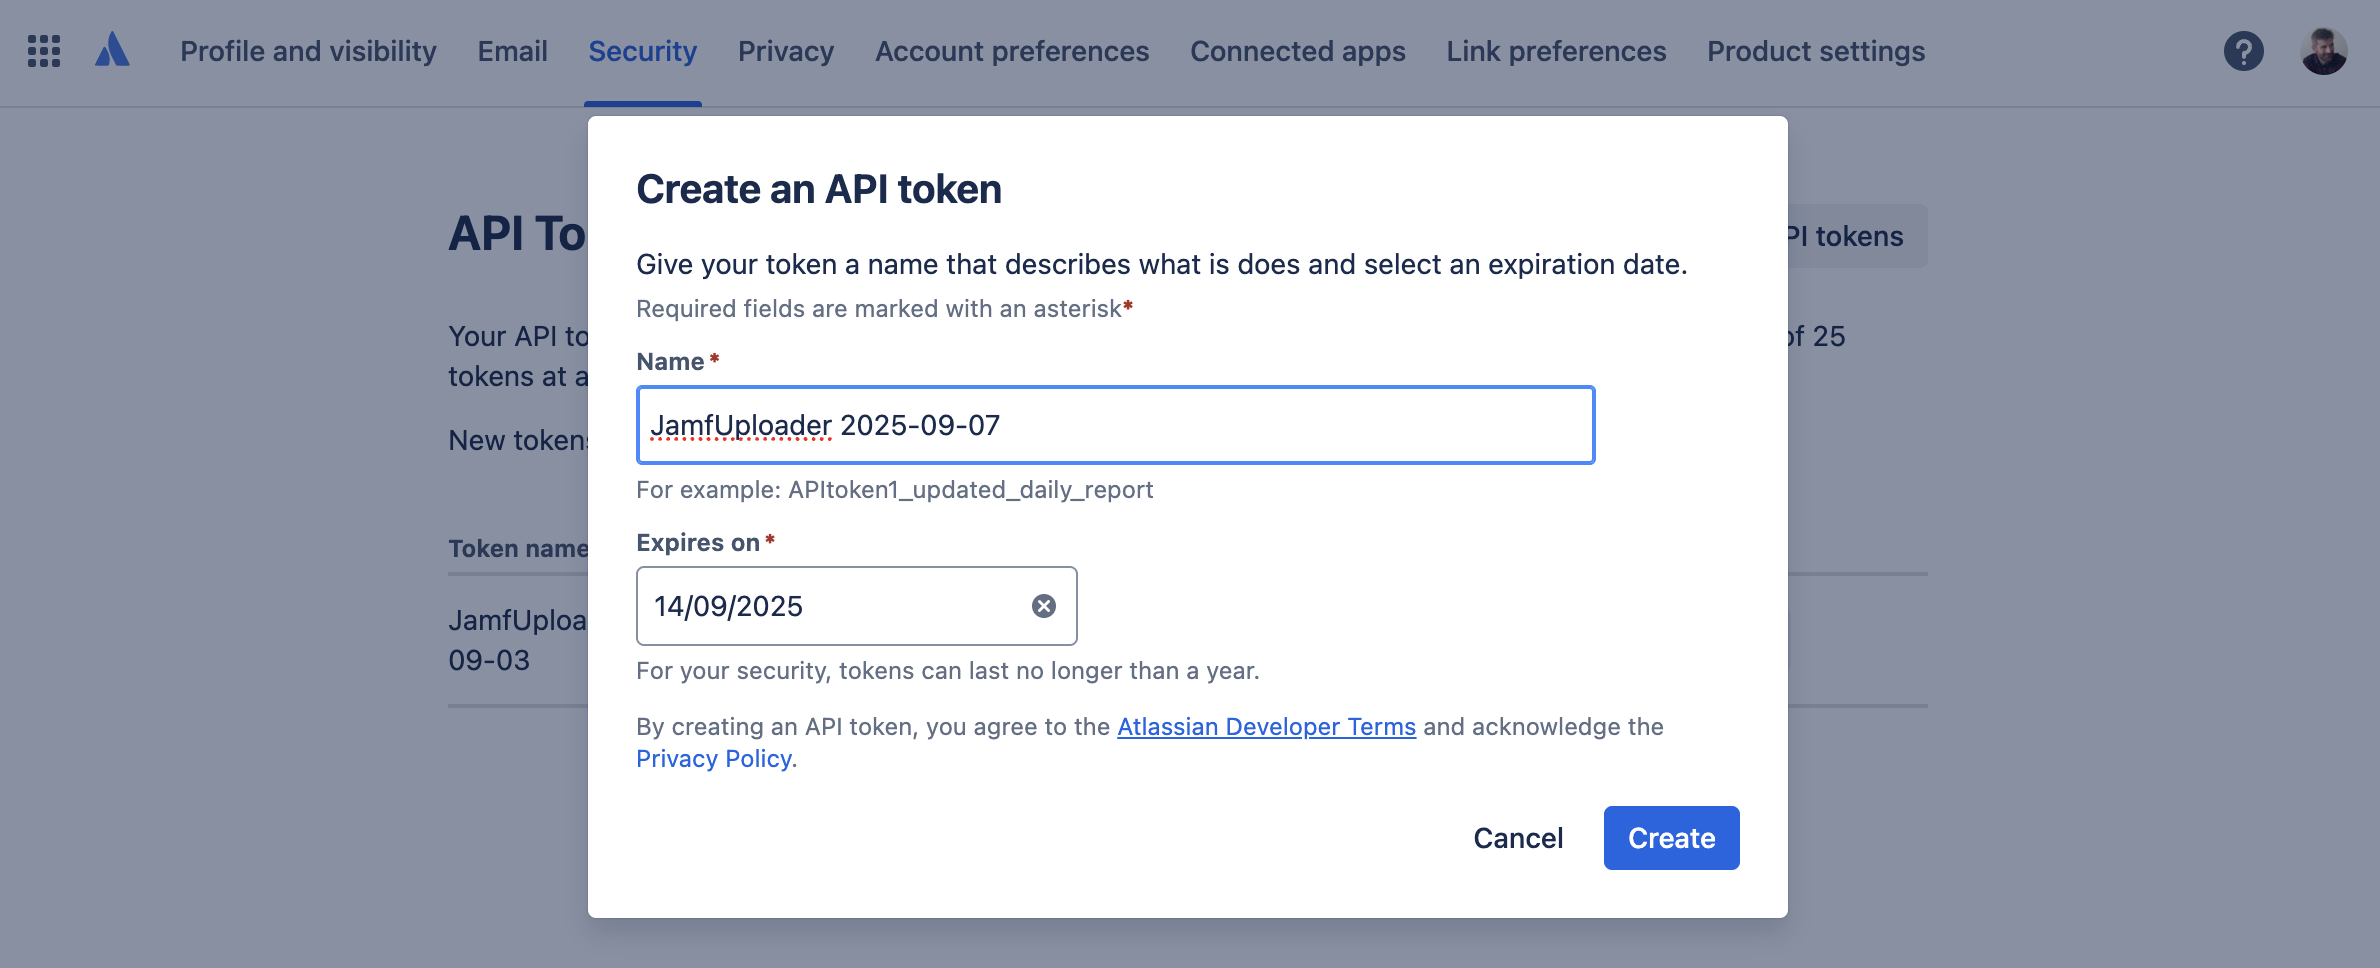
- If you choose the simple API token option, you just give it a name and choose how long it should last. The maximum lifetime is 1 year, so you’ll need to remind yourself to create a new token at least annually.
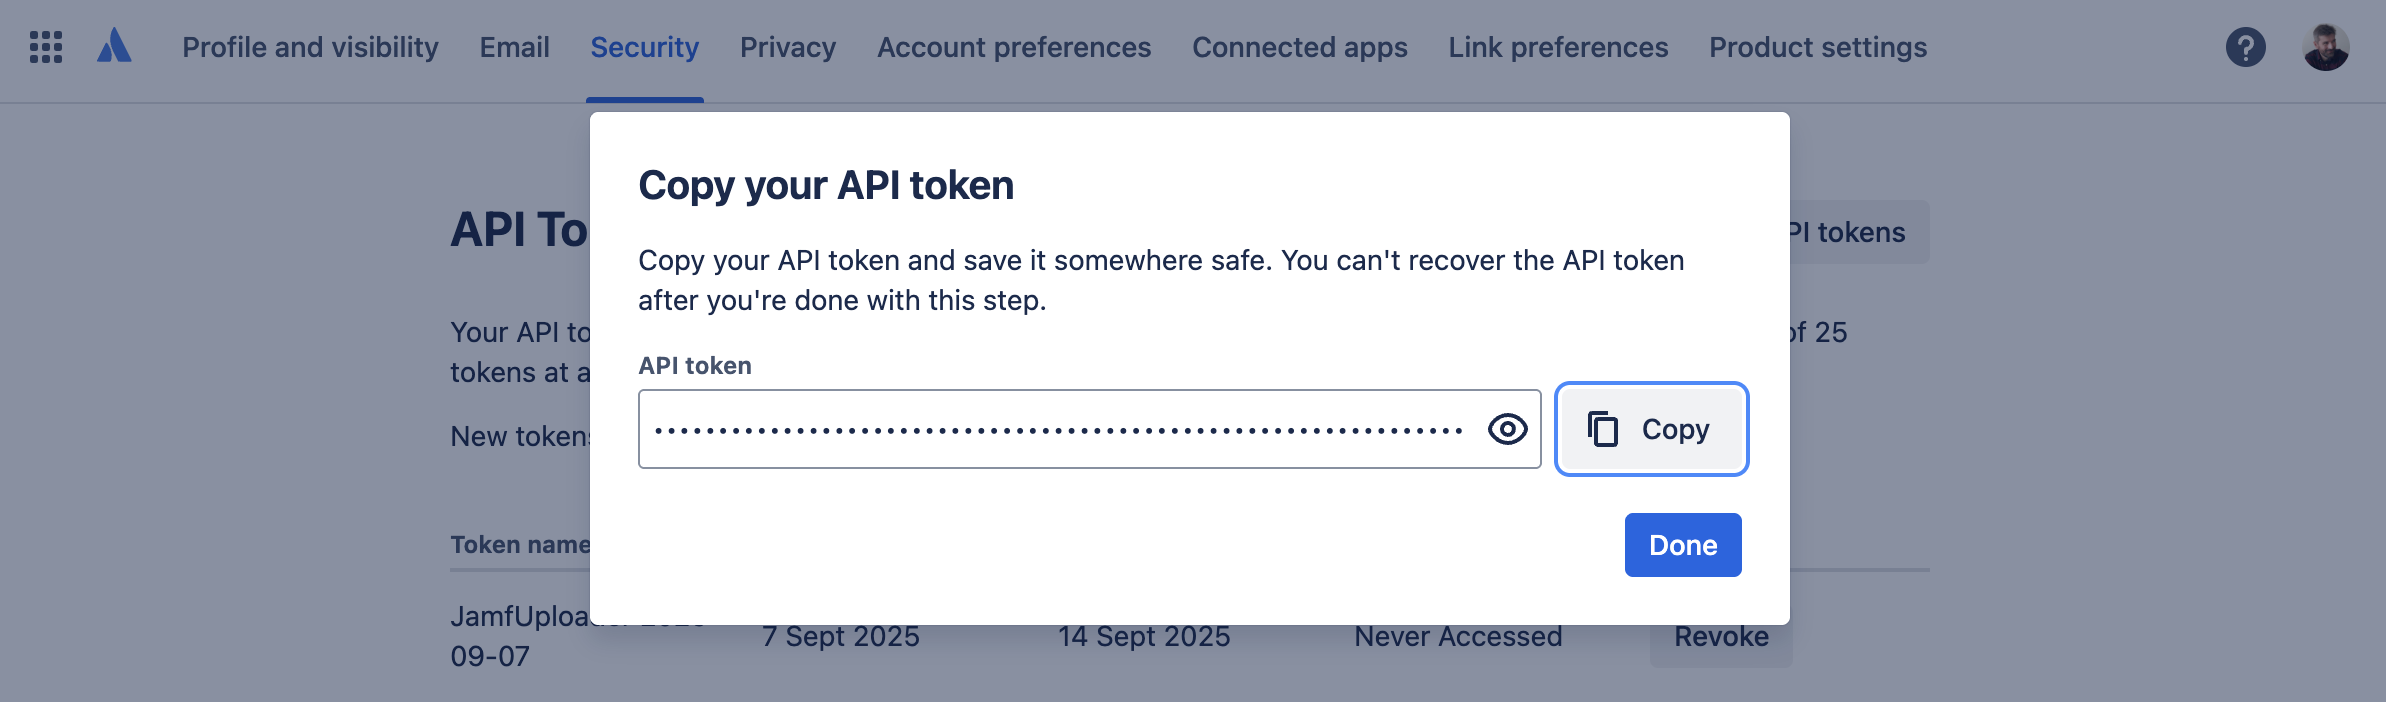
- You must copy the token that is displayed, as there is no way to retrieve it later.
Project ID, Issue Type ID, and Priority ID
You need to specify a Project ID, an issue type, and a priority. These values will be specific to your organisation and needs.
- To find out the correct Project ID, hover over the link to your project in Jira, and you should see a link such as
https://mycompany.atlassian.net/browse/SOME_KEY. That last part is your Project Key. - Use the Project Key to find out the Project ID using the Jira REST API. You can just do this in your browser, using the URL in the form as follows:
https://mycompany.atlassian.net/rest/api/latest/project/SOME_KEY
- This will return a bunch of JSON but every link in there is going to reveal the project ID. The first line of text should look something like as follows. In this example, the Project ID is
12345:
{"expand":"description,lead,issueTypes,url,projectKeys,permissions,insight","self":"https://mycompany.atlassian.net/rest/api/2/project/12345","id":"12345","key":"SOME_KEY".....
- To find out the issue type ID, you need to be a Jira administrator. See the Atlassian Support Documentation for details.
- Priority IDs may also vary between organisations. To find out the relevant priorities for your org, see the Atlassian Support Documentation.
Using JamfUploaderJiraIssueCreator
Now that you’ve gathered all the relevant information, it’s time to add the post-processor to your AutoPkg commands or preferences.
The available keys are:
jira_url: Jira base URL to send the message to, e.g.https://yourcompany.atlassian.net- API endpoint not required.jira_username: The username that created the API token.jira_api_token: The API token. Remember that this expires after a amximum of a year and will need to be replaced.jira_product_id: The Product IDjira_issuetype_id: The Issue Type IDjira_priority_id: The Priority ID
JamfUploaderJiraIssueCreator - Supplying keys at the command line
autopkg run --recipe-list="/path/to/my/RecipeList.txt" \
    --post com.github.grahampugh.jamf-upload.processors/JamfUploaderJiraIssueCreator \
    --key jira_url=https://yourcompany.atlassian.net \
    --key jira_username=your.name@yourcompany.com \
    --key jira_api_token=XXXXXXXXXYYYYYYYYYZZZZZZZZZZ \
    --key jira_product_id=12345 \
    --key jira_issuetype_id=10001 \
    --key jira_priority_id=5
JamfUploaderJiraIssueCreator - Adding keys to the AutoPkg preferences
defaults write com.github.autopkg jira_url https://yourcompany.atlassian.net
defaults write com.github.autopkg jira_api_token XXXXXXXXXYYYYYYYYYZZZZZZZZZZ
defaults write com.github.autopkg jira_username your.name@yourcompany.com
defaults write com.github.autopkg jira_product_id 12345
defaults write com.github.autopkg jira_issuetype_id 10001
defaults write com.github.autopkg jira_priority_id 5
Conclusion
I’ve no doubt that organisations use many different systems for managing their tasks, that could benefit from post-processors similar to those described here. For example, in my last employment, I created internal post-processors to update Microsoft SharePoint sites. Let me know if you are already employing an AutoPkg processor to do this!